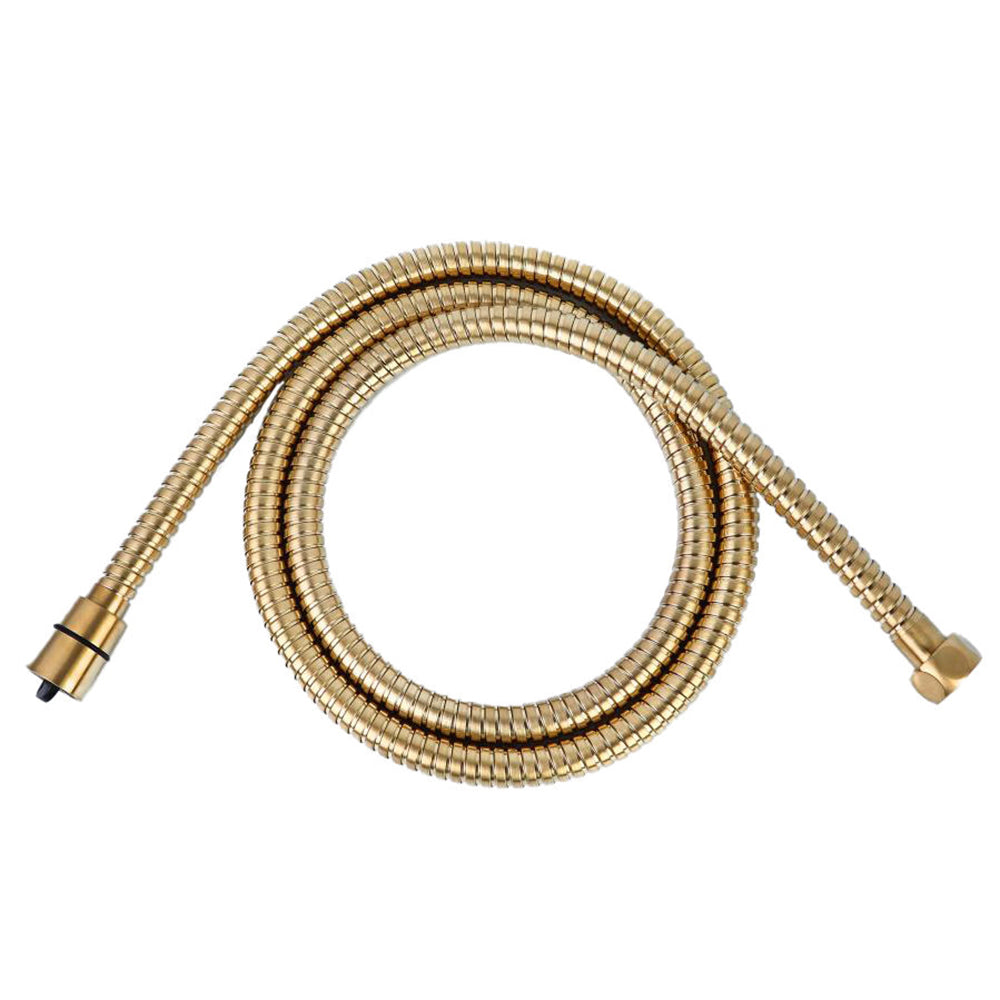
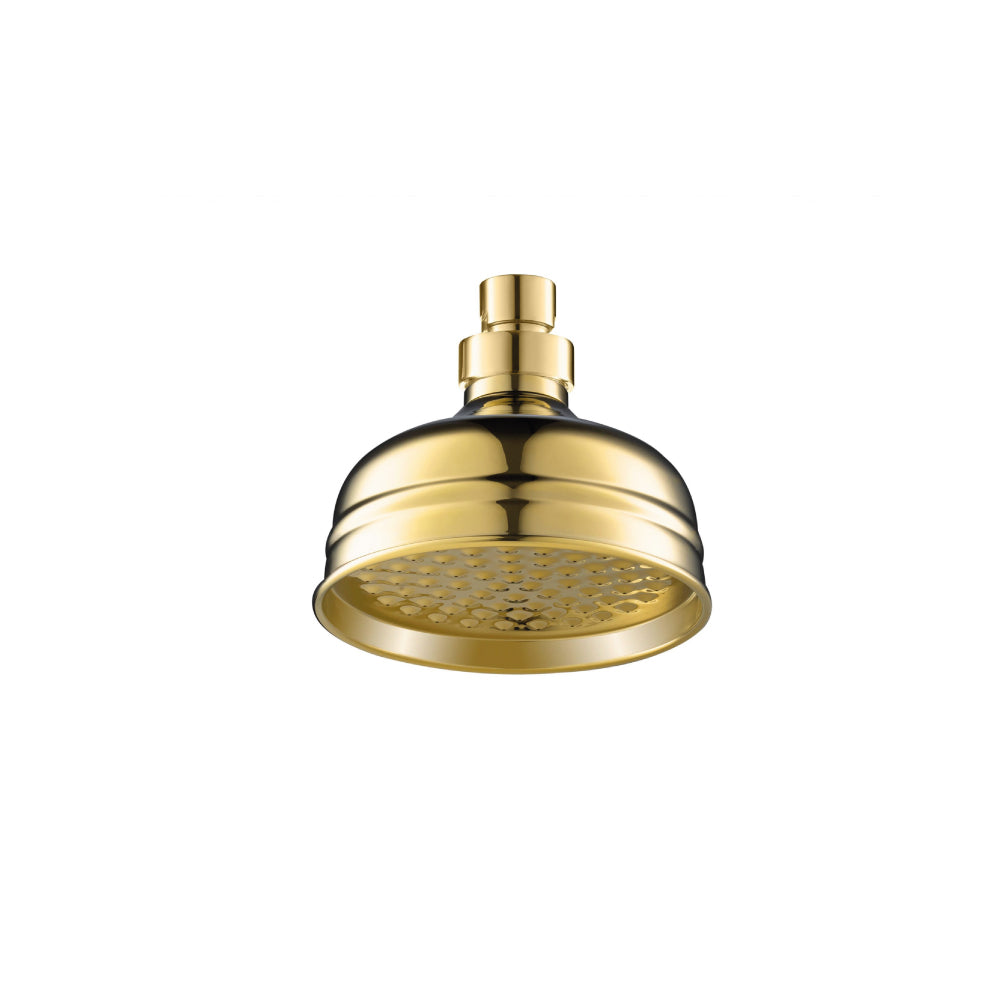
Replacing your shower hose is a maintenance task that shouldn't be overlooked. Over time, wear and tear can cause damage to the hose, particularly at the junction where it connects to the showerhead. This vulnerable point is prone to leaks, leading to a decrease in water pressure and the overall effectiveness of your shower experience.

Before beginning the replacement process, it's important to take some preparatory steps to ensure a smooth and safe experience. Start by ensuring that the area where you'll be working is dry to prevent any slippage. Additionally, placing a towel at the bottom of your tub or shower tray can help catch any water that may drip from the shower head or hose during the process. This simple precaution can help minimize mess and make the task more manageable.
Equipment you may need:
1. Pair of pliers: These will come in handy for tightening or loosening connections during the replacement process. 2. An old rag: Keep an old rag nearby to wipe away any excess water or debris that may accumulate during the procedure. Additionally, you'll need to have your new shower hose ready for installation. It's recommended to use the original manufacturer's equipment whenever possible to ensure compatibility and proper fit.
Disconnect the old hose
To disconnect the old shower hose, begin by turning it in an anticlockwise direction. In most cases, this should be easily achievable by hand. However, if the hose is tightly secured, you may need to enlist the help of pliers or use an old rag for added grip. To prevent damage to the chrome finish of the hose, wrap an old rag around it before applying any pressure with the pliers. This will help protect the surface from scratches or dents.

Once the hose is loosened, you can remove the washer from the end to facilitate its extraction from the shower head. Ensure that all components are securely disconnected before proceeding with the installation of the new hose.
Connect the new hose
Connecting the new hose involves several simple steps. Begin by attaching a washer to the end of the new hose, ensuring it is properly tightened but not overly so. Once the washer is secured, screw the hose back onto your shower unit. Be cautious not to overtighten the washer, as this can lead to unnecessary strain on the fittings. Next, insert another washer onto the showerhead and screw it onto the end of the hose. If the existing washers are still in good condition, you can opt to reuse them for this step. After the connections are made, run water through the hose twice to verify that it is completely watertight. Finally, test the shower to ensure that everything is functioning as expected. If necessary, you can tighten the fittings slightly to achieve a snug fit. To protect the new hose from any potential damage during this process, wrap an old rag around its cones before applying any pressure. This will help prevent scratches or dents and ensure a smooth installation process.
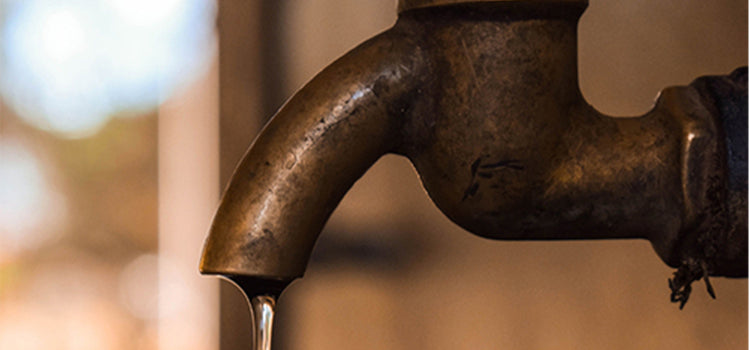
While replacing a showerhead, it's essential to address any issues with your bathroom fixtures to ensure optimal functionality. If you're facing problems like a dripping tap in your gold-themed bathroom, you might find this comprehensive DIY guide helpful. It provides step-by-step instructions on fixing dripping taps and maintaining your bathroom's aesthetic appeal. You can check out the guide on 'How to Fix a Dripping Tap in Your Gold Bathroom UK' for more insights.